Friday, February 28, 2014

Cheese Garlic Bread - Gluten Free Yeast Bread

For a long while I've been seeking out a good recipe for a yeast risen gluten free bread. At first I used a bread maker and created a lot of doughy bricks that were fairly inedible. My resistance to using xanthan gum has also made my quest for gluten free yeast bread difficult.

Gluten Free Gnocchi w/Marinara Sauce & Bread
Tuesday evening I had some friends over for dinner. We enjoyed a lovely Italian dinner of gluten free gnocchi  with a cream sauce, sautéed red onion and a side of cheese garlic bread with marinara sauce. I take a lot of pleasure in cooking for my friend Sean who is also fully gluten free. He gets the same delight that I do in eating foods we thought were no longer possible in our restricted diet. 

I hope you enjoy this bread as much as we did! It is easy to make but there are several rise times so this is not a quick bread.

The texture is perfect and the bread is not dense but has a tender crumb and the crust is crispy, the use of sea salt crystals on the top crust really helps to enhance all the flavors and makes this the perfect compliment to your Italian dinner for sipping up tapenade or marinara sauce.


Cheese Garlic Bread - Gluten Free Yeast Bread

  • 2 1/2 cups brown rice flour
  • 1/3 cup potato flour
  • 3 tablespoons corn starch
  • 2 tablespoons cane sugar
  • 2 teaspoons instant yeast
  • 1 teaspoon sea salt
  • 1 cup warm milk
  • 4 tablespoons soft butter
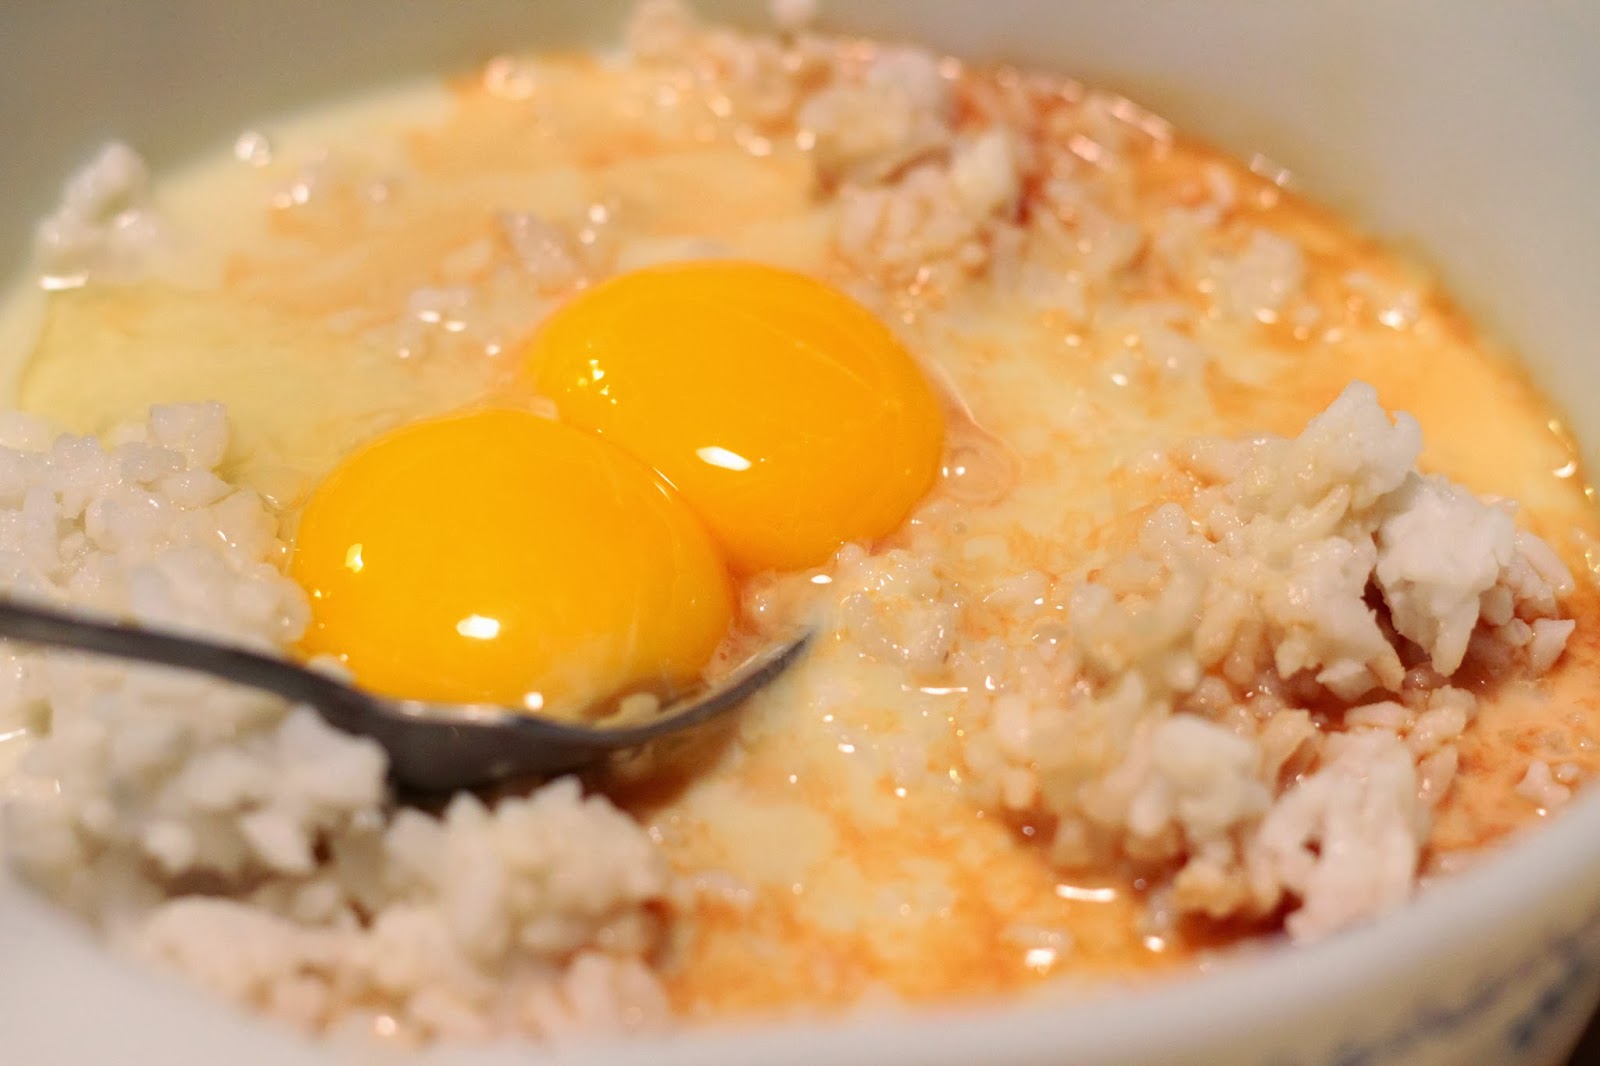
  • 3 large eggs
  • 2 tablespoons olive oil
  • 1/2 tsp sea salt crystals
  • 4 minced garlic cloves
  • 1 cup shredded parmesan cheese (or cheese blend)
Directions:

1. In a mixing bowl combine flours, corn starch, cane sugar, yeast, and salt (not the sea salt crystals.) Mix till thoroughly combined.

2. Slowly add warm milk as mixer continues on medium speed. Add soft butter and combine. Dough will be sticky but not yet batter like. 

3. Add eggs one at a time and beat till batter is combined. Do not be surprised that this is not a typical dough. 

4. Set to rise covered in bowl for one hour undisturbed. 

5. Grease inside of baking pan, I like using a round casserole dish for this but you can use a standard large bread pan too, just depends on the shape you would like. Please keep in mind this will rise and double in size so be sure that the pan you use has plenty of room for expansion. 

6. Fold in shredded cheese and 2/3 of the minced garlic. Transfer batter into greased pan. Moistened your CLEAN hands to pat dough flat. I opt to poke holes with my finger into the bread as it leaves a little pock mark on the top of the bread and also permits the seasoning to go into the holes too.

7. Drizzle top with olive oil, sprinkle with remaining minced garlic and sprinkle with sea salt crystals. 

8. Cover again and let rise for another hour. About 20 minutes before rising time is up get oven preheated to 350 degrees. 

9. Place bread in oven to bake. Baking time with vary depending on your individual oven but should be approximately 45 minutes. During this time in the oven the bread will rise even more and will golden on top. 

10. Once the bread is gold brown on top remove from the oven. 

11. Set to cool for approximately 15-20 minutes. Tap bottom of pan and remove bread from pan. You don't want to leave the bread in the pan for the duration of it's cooling as the heat will "steam" the crust and you will not have as nice of a crust to the bread so allow to cool on cutting board outside of pan. 

12. You can slice into the bread while it is still warm or wait till bread is cool and package storing bread in your fridge. 

Enjoy! xoxo - Iris

Thursday, February 13, 2014

Perfectly Almond Brownies (Gluten Free, Corn Free, Dairy Free)

I talk to a lot of other people who are gluten free but also suffer from other additional sensitivities so I try to come up with recipes to accommodate everyone.

Tomorrow it's Valentines Day so there is still time to bake up a luscious pan of these brownies!

Almond Brownies made with the addition of whisky/sea salt, served with homemade peach sorbet.

Perfectly Almond Brownies (Gluten Free, Corn Free, Dairy Free)

  • 4 oz. unsweetened baker's chocolate
  • 2 cups cane sugar
  • 1/2 tablespoon vanilla extract
  • 3 eggs
  • 1/4 cup unsweetened cocoa
  • 1 cup almond meal
Directions:

1. Preheat oven to 350 and grease preferred baking pan. Depending on how thick you like your brownies you can use 9x9 to 13x9.

2. Melt unsweetened chocolate in a pan on the stovetop or in the microwave in a bowl. Be sure that all the chocolate is dissolved but that you don't over heat it, chocolate burns quickly. 

3. In a mixing bowl combine almond meal, sugar and unsweetened cocoa. 

4. Add eggs and vanilla and whisk till combined. 

5. Add melted chocolate and combine thoroughly. 

6. Transfer batter to prepared pan and smooth with spatula. 

7. Bake for 30 minutes or until set. 

8. Remove from oven and cool. Fight the temptation to cut into these early. Cut once cool. 

Enjoy! xoxo - Iris

Tuesday, February 11, 2014

Hot Milk Sponge Cake: Orange Zest with Cointreau Ganache (Gluten Free)

I should rename this cake Love Potion #9! Nothing about this cake isn't irresistible! Three more days till Valentine's Day and wether you want to make this cake for a loved one or just cause you love yourself this sexy cake will promise to delight your taste buds and leave you calling out for "more! more! more!"

From start to finish, including baking and "frosting" this cake takes less than an hour! This leaves more time for kissing and less time in the kitchen.


Hot Milk Sponge Cake: Orange Zest with Cointreau Ganache (Gluten Free)

  • 2 eggs
  • 3/4 cup brown rice flour
  • 2 tablespoons corn starch 
  • 1/4 cup potato flour
  • 1 cup sugar
  • 1 teaspoon baking powder.
  • 1/2 cup milk
  • 2 tablespoons butter (a little extra for greasing the pan)
  • zest of one orange (please us organic)
  • 1/2 cup whipping cream
  • 12 ounces chocolate chips (semi sweet are excellent for this)
  • 2 teaspoons Cointreau (or more if you prefer)
Directions:

1. Preheat oven to 350 and grease preferred baking pan. You can use a round tart pan as I did or a 9x9 square baking pan. I like to use a cake pan that is aesthetically pleasing because I serve this cake directly from the pan in which it was baked. 

2. In a stand mixer or simply a bowl with a hand mixer beat eggs till thick and creamy, add sugar and continue to beat until fluffy. 

3. In a small bowl combine flours with baking powder and finely grated orange zest. 

4. Slowly add flour mixture to eggs and sugar mixing till just combined. 

5. In a small pan heat milk and add butter, heat till butter has melted. 

6. Slowly add warm milk and butter till batter has completely combined. 

7. Transfer batter into prepared baking dish and place in oven to bake for approximately 20 minutes or until the top of the cake has turned a honey golden brown. 

8. Remove cake from oven and allow to cool. 


9. Because ganache is melted chocolate you will be safe to top your cake while its still warm, you just want to allow the cake enough cooling time that it's not so delicate that it will tear if you have to push around the chocolate. 

10. Place chocolate chips into a small bowl that has plenty of room for stirring. 

11. Heat whipping cream till very hot but not boiling. 

12. Pour hot cream over chocolate chips and stirs quickly to dissolve all the chocolate chips, continue to stir till smooth consistency is achieved. 

13. Add Cointreau to cream and chocolate mixture and stir till thoroughly combined. You can taste this to see if the flavor meets your pleasing, you can add more liquor if you desire but be gentle as with most subtle flavors they will enhance over time so its ok to allow the flavor to be delicate. 

14. Gently, using a spatula pour ganache over the top of your cooled cake and spread evenly. I like to leave the edge of the cake visible so that there is a little cake peaking out of the side. 

15. If you wish to make a "lighter" cake you can simply make homemade whipped cream and in place of the ganache top the cake with whipped cream and berries, it will still be divine but lighter. I suggest using whole berries cleaned and dried completely so you keep your whipped cream looking top notch! 

You can serve this cake immediately with the warmth still in it or leave it out for a few hours till is reaches room temperature but if you make this ahead of time please cover and keep in the fridge... however remove from fridge at least an hour before serving to allow the ganache to return to a softer state, it will taste better and cut easier if you do. This isn't the kind of cake that a lot of left overs will survive but it is very special and the citrus and chocolate combination elevate its flavor profile and make it a very special dessert!

xoxo - Iris

Monday, February 10, 2014

Cream of Broccoli Soup (Gluten Free)

I was talking with a friend yesterday about soups, I make soup at least once a week and yet I've only posted one recipe since I started this blog. The insanity!

Of course canned soups are pretty much entirely out of the question for the gluten free crowd but not much beats a warm bowl of soup on a brisk afternoon.

This recipe contains few ingredients and is very fast to make so you most certainly want to add it to your go-to lunch time meals.


Cream of Broccoli Soup

  • 1 small onion chopped
  • 1 tablespoon butter
  • 12 ounces frozen broccoli florets 
  • 1 cups whole milk
  • 1 tsp sea salt
  • 1/2 cup sour cream
  • 1/3 cup potato flour
Directions:

1. In a large skillet melt butter and toss in onion and sea salt. Allow to sauté over low/medium heat till onions begin to golden. I add the salt to the onions because I find it helps them sweat and speeds up the cooking process. 

2. Add broccoli florets and continue to cook over medium heat till frozen broccoli has defrosted. 

3. Transfer onion broccoli mix to a blender and add whole milk, sour cream and potato flour. 

4. Blend on puree setting till preferred consistency is achieved. 

5. Return mixture to pot and simmer to heat, serve hot. 

xoxo - Iris

Thursday, February 6, 2014

Baked Rice Pudding (Gluten Free)

Not much says love more than comfort food... the impending Valentines Day and the rain we're finally getting in Los Angeles has compelled me to fix up some rice pudding. This recipe is so simple that you can whip this up in just a few minutes.

One of my best friends, Cristina, used to make rice pudding for me all the time, it was so rich and creamy and delightful. Growing up my mom made a stove top version that came from a family recipe... and I'll admit I occasionally pick up a cup of Senor Rico Arroz con Leche.


Baked Rice Pudding

  • 2 cups cooked white rice
  • 1 (14 ounce) condensed milk
  • 2 egg yolks
  • 1 tablespoon vanilla extract
  • ground cinnamon for garnish
Directions:

1. Preheat oven to 350. 

2. In a casserole dish mix cooked white rice with egg yolks, vanilla extract and condensed milk. Be sure that
everything is combined very well so you don't end up with spots of unflavored rice. 

3. Place in oven. Bake for 45 minutes or until top begins to golden and pudding has firmed. 

4. Remove from oven and serve warm or chilled. Serve with a dusting of cinnamon if you desire. 

Growing up I remember rice pudding having raisons in it so feel free to add variations to this dish as you wish... a little orange zest, raisons or other chopped dry fruit, ground ginger. You can also used smaller ramekin dishes to make individual serving size puddings. 

Enjoy! xoxo - Iris

Easy Mexican Frittata (Gluten Free)

This is a great breakfast that you can make for your loved one for breakfast or for yourself because you want something hearty, delicious and just a little spicy.


Mexican Frittata

  • 2 eggs
  • pinch of sea salt
  • 1 tablespoon red salsa (you can vary the hotness by using a milder or hotter salsa)
  • 2 tablespoons cooked black beans
  • 1/4 cup diced cooked potatoes
  • butter for pan
  • avocado, sour cream, lime, additional salsa (garnish)
Directions:

1. Heat non stick frying pan over medium heat. Use a pan that's a little deep so that the frittata is not thin. 

2. Add small pad of butter to grease pan to prevent egg from sticking. Turn oven on to broil. 

3. In a small bowl crack eggs and beat with sea salt and salsa till thoroughly combined but not so much that the eggs become foamy. 

4. Pour egg mixture into heated pan and reduce heat to low. Allow to cook undisturbed on stove top for several minutes to allow bottom to cook. 

5. Add pieces of potato and black beans. I recommend rinsing the beans and patting them dry or else you can discolor the eggs. 

6. Remove pan from heat and place into oven under broiler. Continue to cook till top has solidified, keep a close eye on your eggs as broilers vary in intensity. 

7. Remove eggs from heat. Transfer eggs to cutting board, you can slice into wedges and serve this way or as I did cut it into a cut shape. 

8. Serve with heated corn tortilla and garnish with additional salsa, sour cream, lime slices and if you like a little cotija cheese. 

Enjoy! xoxo - Iris